
Oplink Alarmshield Installation Guide
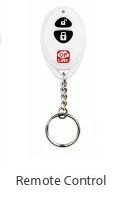
Parts that come in Alarmshield Kit
Step 1
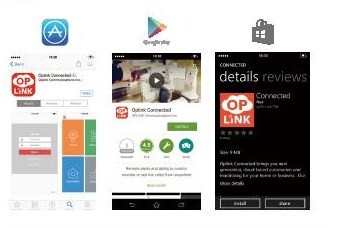
Download the Oplink App
Android: Open Google Play Store and search for “Oplink Connected” and install the application.
iPhone: Open App Store and search for “Oplink Connected” and install application.
Windows Open Marketplace: Search for “Oplink Connected” and install
Step 2
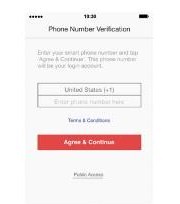
Set up an account with your smartphone
Launch the “Oplink Connected” application. Follow the instructions on the application page to activate your account using your phone number.
Step 3
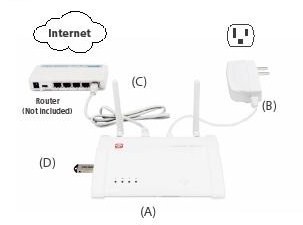
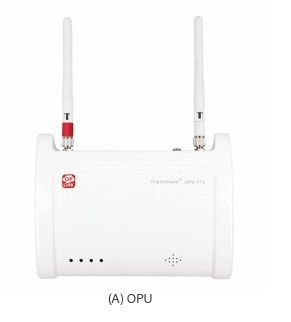
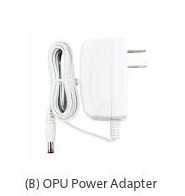
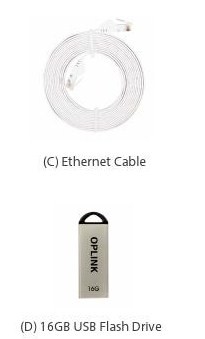
Assemble the OPU station and connect to a DHCP enabled router
Assemble the system according to the provided picture. It is recommended that the OPU be placed on a 3-5ft high platform.
Step 4
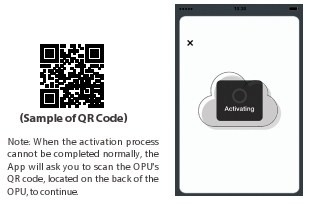
Start devices activation on the app
Tap the Next button to go to the ‘Activating’ screen. (Activation process takes approximately 2 minutes)
Step 5
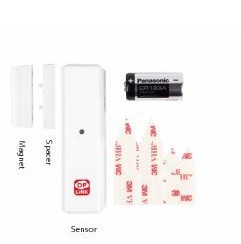
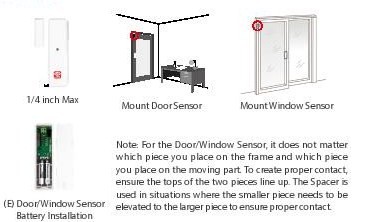 Install the Door / Window Sensor
Each door/window sensor set consists of two pieces. Take the larger piece and with slight force push the small tab on the back plate outward and slide the back plate upward. Remove the back plate and insert a battery into each Door / Window sensor set. Apply the double sided tape to each piece. It is recommended that the sensor be mounted in a vertical upright position.
Step 6
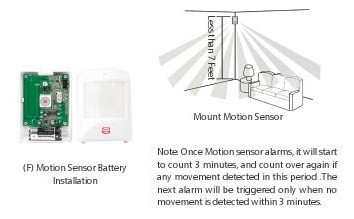
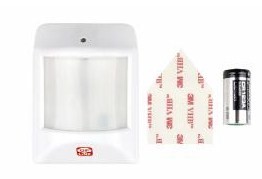
Install the Motion Sensor
Lift the top tab to remove the cover and install the battery into the Motion Sensor. For maximum coverage the sensor should be placed in the corner of the room to be monitored and no more that 7 feet above the ground. The Motion Sensor is most effective in areas such as hallways and entry points where possible intruders will have to pass through.
Step 7
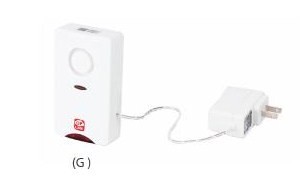
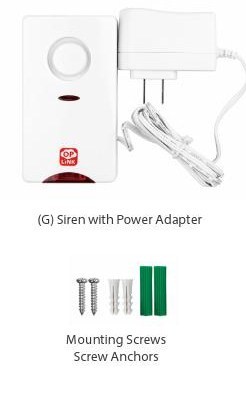
Powering up the Siren
Plug the Siren into an outlet within 5 feet of the Hub to establish a connection. Once connection is established and working the siren can be moved to its desired location. Your siren comes with a backup battery pre-installed. To make use of the backup battery pull and remove the clear plastic strip.
Step 8
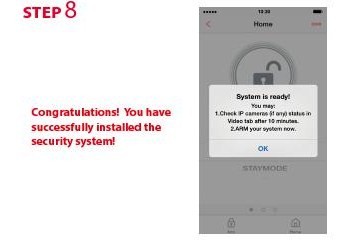
Activation Completed
When you see the ‘System is ready’ message your system is ready to use.
For more information on or to order the Alarmshield view here.